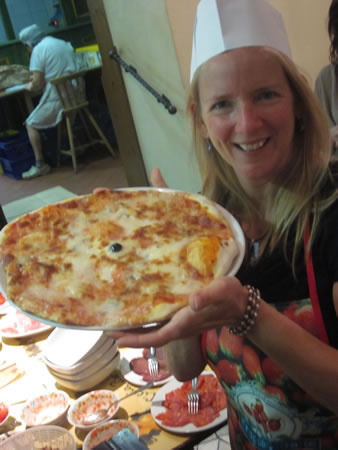
 Before I can give you the recipe for my now perfected pizza, I have to first give a nod to the folks at Walks of Italy. At the end of a half-day tour of Rome earlier this year, we took a pizza making class by a master pizza maker at his restaurant.
You might already know that I’m a pizza snob. But it was in Italy that Jon and I both got hooked on thin crust pizza. In Italy, when you sit down for pizza, you order an entire one for yourself. No Italian would consider splitting a pizza for a meal. But the way most of our pizzas are made in the U.S. that’s simply not possible because the crusts are just so darn thick.
There are very few places in Seattle where I will actually order a pizza. Well, I will order a pizza but enjoying it is a completely different matter. Growing up in New Jersey, I’m spoiled on thinner crust pies with flavorful tomato sauces that are light on the cheese.
After we got hooked on thin-crust-eat-a-whole-pie-yourself pizza in Rome, I’ve been experimenting with making my own. I recently posted a picture of my finished product on Facebook and had requests to share the recipe. So here goes…
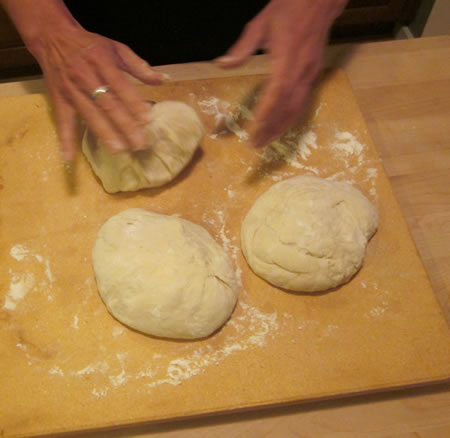
1. I first make my dough in a bread machine. I won’t go into the ingredients because I don’t think the actual making of the dough is the important key here – it’s what you do with the dough. You can just as easily buy dough from your local Trader Joe’s or other supermarket. The two pound dough I make in the bread maker will make three pizzas. I keep one for that night’s pizza and freeze the other two in large Zip-loc bags.
2. I can’t be sure, but I’m thinking that having the dough at room temperature is important. So whether it’s warm out of the bread machine or cool from the store shelf, let it sit out on your counter top for at least a few hours.
3. For the sauce, I kinda make it up as I go but here’s some general guidelines. I first saute some garlic in olive oil. By “some” garlic, I mean 6 or 7 cloves. I like garlic so use more or less depending on your taste.
If you’ve got onions, you might consider tossing some diced onions in as well.
I then add a couple of cans (16 ounce) of diced tomatoes and let this all simmer for at least 30 – 45 minutes. I chop them up or mash them with a potato masher to get them nice and mushy. Depending on what I can find in my pantry, I’ll add oregano, basil or any other Italian-ish spices.
Once the juices have cooked down and the tomatoes are super soft, I transfer everything into a blender and blend the sauce ’til smooth.
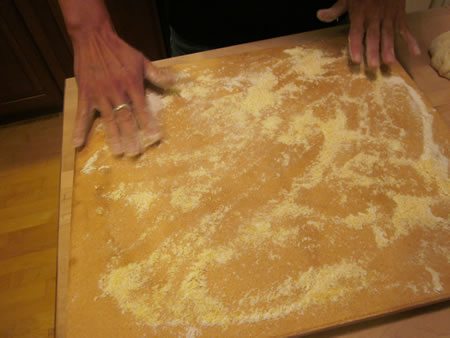
4. Now we’re ready to work with the dough. I first generously sprinkle both flour and corn meal on a pizza stone and with a floured rolling pin start working on the dough. I take my time with it and work it out nice and thin, adding more flour and cornmeal underneath if necessary.
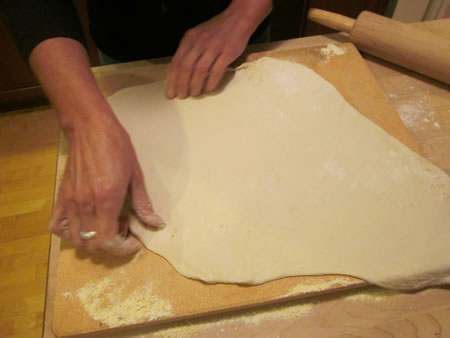
As long as I’m patient, I can roll out a really nice thin crust without it sticking to the stone. Once it’s to the size I’m after, I flip over half the dough and add more corn meal to the pizza stone, doing the same to both halves of the dough.
5. At this point, you should turn your oven on to 500 degrees.
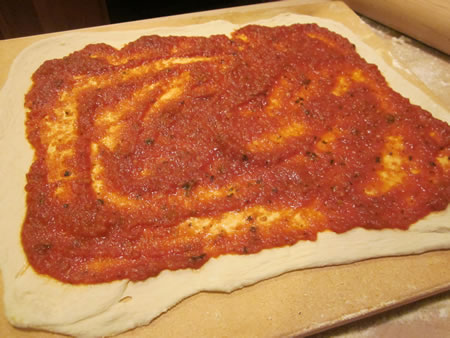
6. The sauce described above can also be split into three portions. I divvy these up and freeze two of them. I then start to spread out the sauce pretty close to the edge of the pizza (closer than what’s pictured above). I learned from the Walks of Italy tour that you don’t create a crust (I had always rolled up a hefty bit of crust around the edges). You simply spread the sauce out to within .5 – 1 inch of the edge and the outer part naturally rises.
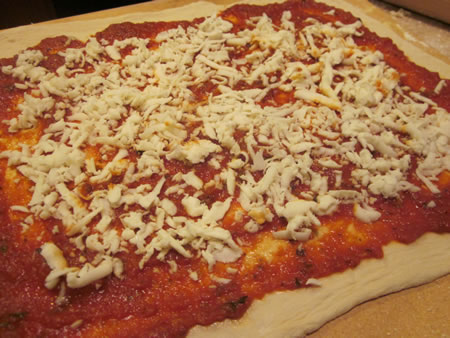
7. Add your shredded mozzarella. Note that you want the low-moisture mozzarella, not buffalo or another type that is high in moisture content.
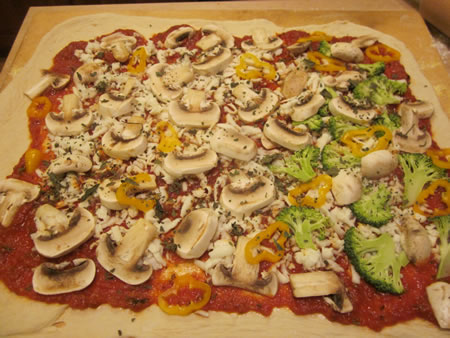
8. Top it off with veggies or (gasp) meat. I’ve then been adding dried basil that my neighbor provided us this summer from her garden.
9. Cook for about 12 – 14 minutes (depending on your oven).
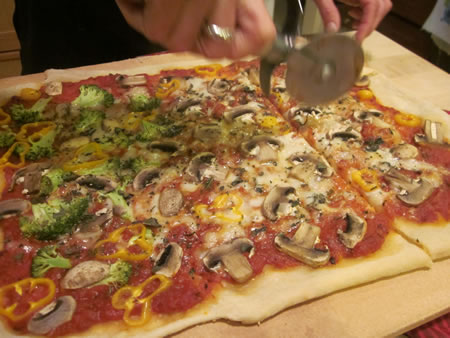
10. Let it cool for a few minutes, slice it up and enjoy!
Travel Well,
Leave a Reply